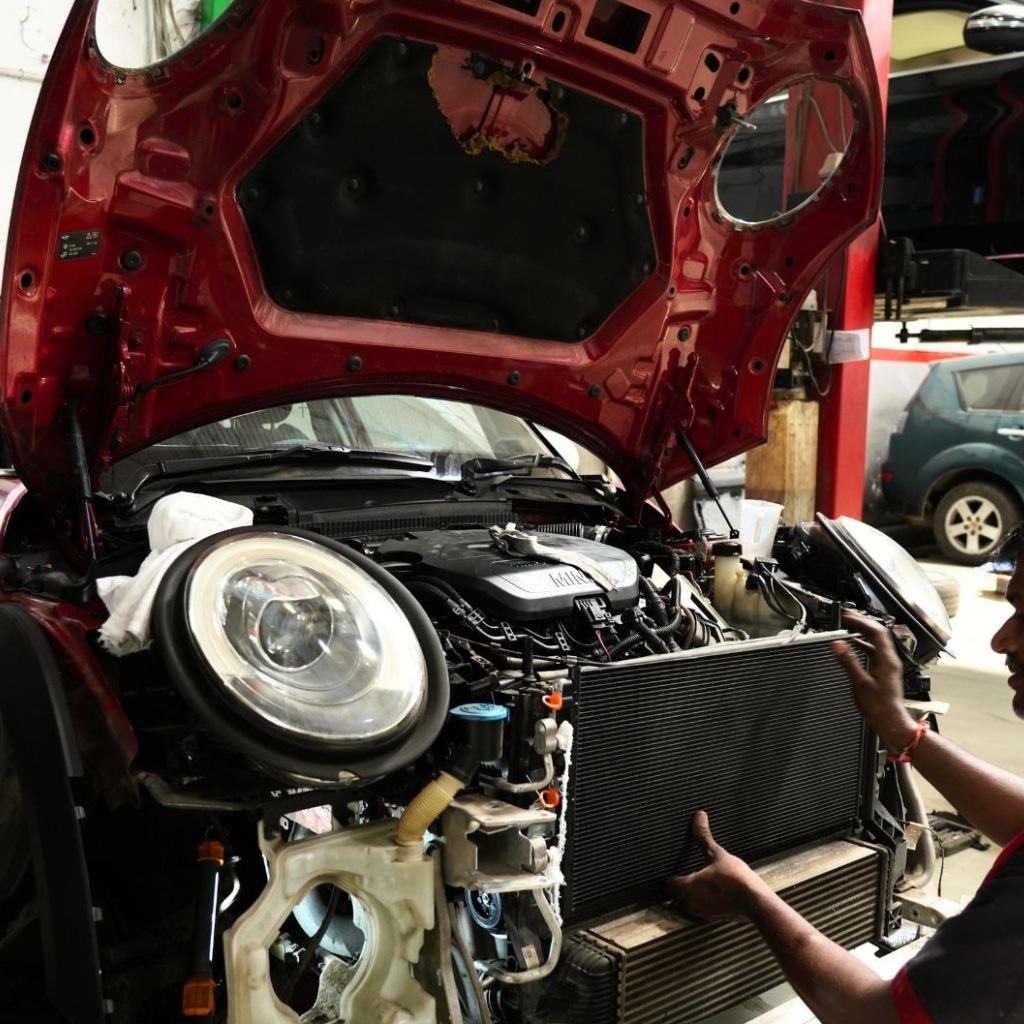
This Chili Red Mini Cooper F56 came into Evolve Automotive with no AC cooling at all. The compressor had failed, the clutch was not engaging and there was no pressure build up in the system. When a compressor fails internally, it sends debris through the refrigerant circuit. That debris ends up in the condenser, which is why replacing just the compressor without addressing the condenser almost always leads to the new compressor failing again within a short time.
On this Mini Cooper, both components were replaced together. Here is what the job involved and why the sequence matters.
Mini Cooper and BMW Service: BMW and Mini Cooper Service — Evolve Automotive, Guindy |
+91 98849 88632 · Mon–Sat 10AM–7PM
Why the Compressor and Condenser Are Replaced Together
The AC compressor pumps refrigerant around the circuit. When it fails internally, seized bearings, broken internal components, metal debris gets into the refrigerant and travels through the system. The condenser is the next major component in the circuit after the compressor. It acts as a heat exchanger at the front of the car, and its fine internal passages trap this debris easily.
If you replace only the compressor and leave the contaminated condenser in place, the new compressor is pumping refrigerant through a blocked or debris laden condenser from day one. The efficiency drops and the new compressor is under stress it should not have to deal with. In many cases the new compressor fails within a year for exactly this reason.
Replacing both together costs more upfront but it is the correct repair. It means the new compressor is working with a clean circuit and has a realistic service life ahead of it.
The Work — Compressor Replacement
Removing the Old Compressor
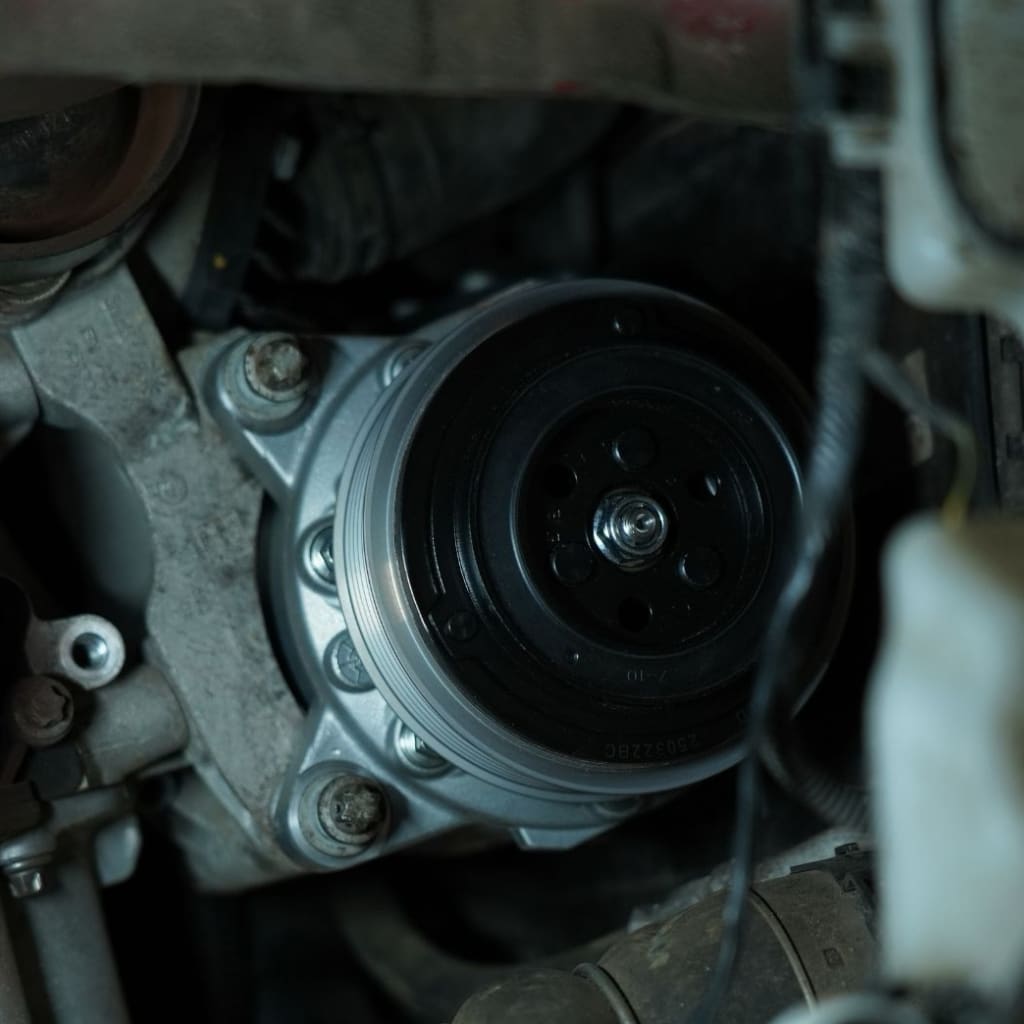
The refrigerant was recovered before any lines were opened. On the Mini Cooper F56, the compressor sits in the engine bay driven by the front accessory belt. The belt was removed, the refrigerant lines disconnected at the compressor and the old unit unbolted and taken out. The old compressor was confirmed internally failed, no rotation, seized.
Fitting the New Compressor
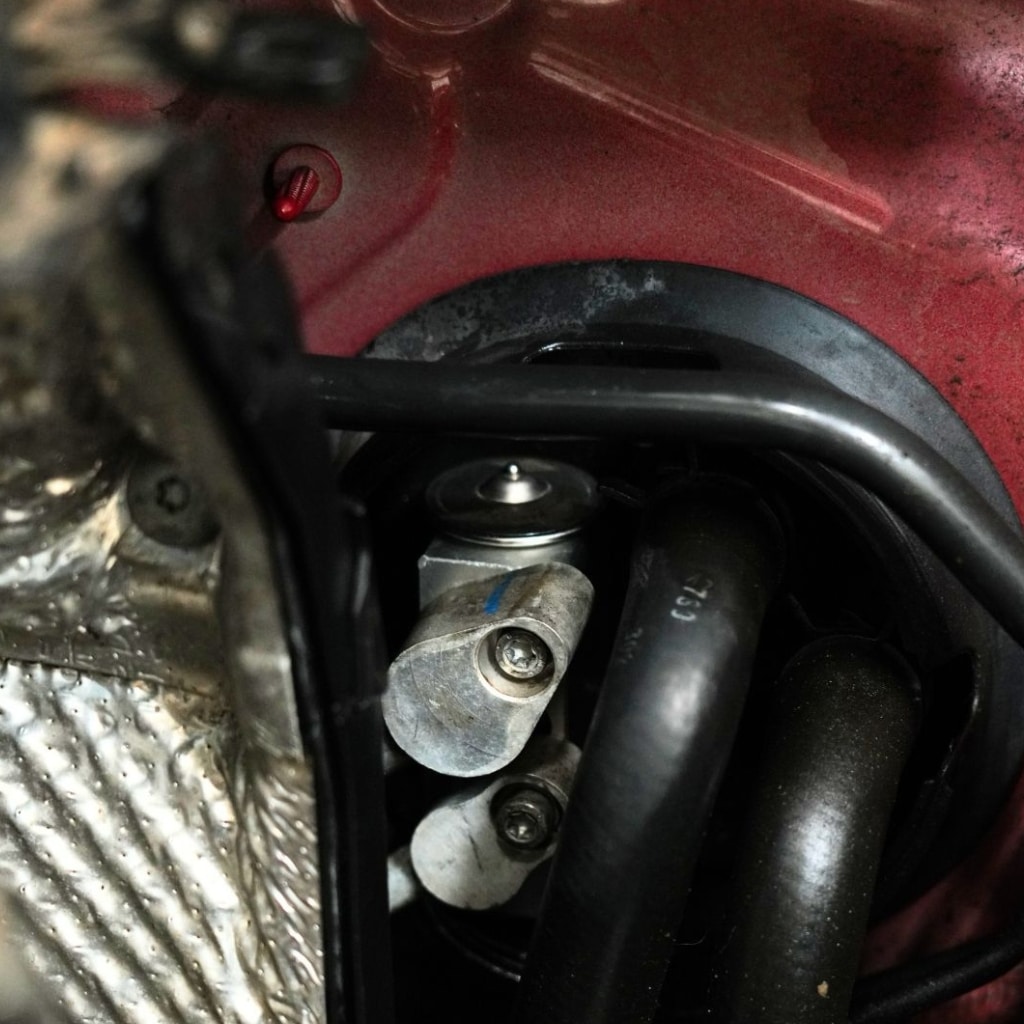
The new compressor was fitted in position, bolted to the mounting bracket, and the refrigerant lines connected with new O-rings on each connection. New O-rings on every joint is standard practice when opening an AC circuit, reusing old O-rings on a freshly opened joint is an easy way to end up with a refrigerant leak that does not show up until the system is under pressure.
The drive belt was refitted and tensioned correctly before the front-end work began.
The Work — Condenser Replacement
Front End Disassembly
The condenser on the F56 Mini Cooper sits at the front of the car, ahead of the radiator. To get it out, the front bumper and grille assembly come off, giving clear access to the condenser and the radiator pack behind it. The condenser was disconnected at its pipe connections and removed. As expected, the fins showed debris contamination from the failed compressor, replacing it was the right call.
New Condenser
The new condenser was fitted into the same position, pipe connections made with new O-rings, and the front end was reassembled. Panel gaps were checked before moving on to the recharge.
Vacuum Test and Recharge
With both components replaced and all connections made, the system was put under vacuum before any refrigerant was added. Vacuum testing pulls any moisture and air out of the circuit and also reveals any leaks, if the system cannot hold vacuum, there is a leak somewhere that needs to be found before refrigerant goes in. This Mini Cooper held vacuum correctly.
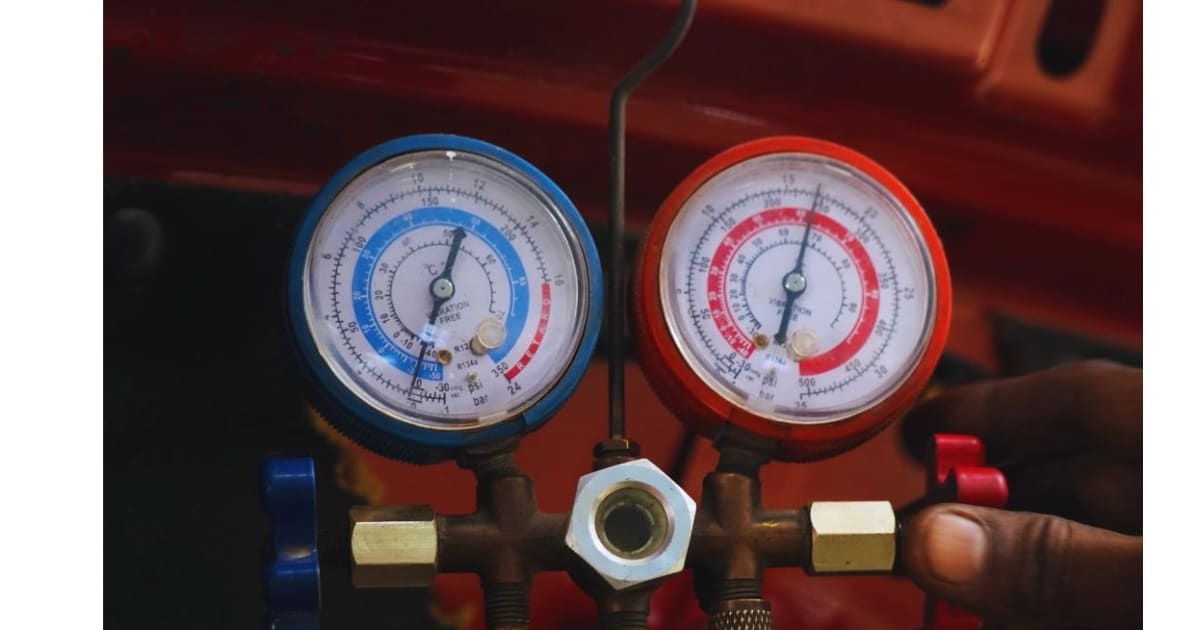
The system was then recharged to the correct refrigerant weight for the F56, confirmed from the specification on the chassis label. After recharge, system pressures were read on the manifold gauge set to verify both high-side and low-side pressures were within the correct range. Vent temperature was measured at the cabin vents to confirm the cooling was working correctly before the car was returned.
When a compressor fails on a Mini Cooper, the condenser is always part of the repair. Skipping the condenser saves money today and costs more in six months when the new compressor fails early. The vacuum test before recharge is equally important putting refrigerant into a system with a leak just means losing the refrigerant and finding the leak later. Both steps protect the work that has already been done. |
Premium European Car Service: Premium Car Service Hub at Evolve Automotive |
Frequently Asked Questions
Q: Why does a Mini Cooper AC compressor failure also damage the condenser?
When an AC compressor fails internally, metal fragments and debris from the failed components enter the refrigerant circuit. The refrigerant carries this debris through the system and it collects in the condenser, which has fine internal passages that trap contaminants easily. A contaminated condenser restricts refrigerant flow and acts as a source of ongoing contamination for any new compressor fitted. This is why replacing the condenser alongside a failed compressor is the correct approach, not an optional extra.
Q: Can just the Mini Cooper AC compressor be replaced without the condenser?
Technically yes, but it is not recommended when the compressor has failed internally. A failed compressor sends debris through the system. If the condenser is not replaced, the new compressor is working against a contaminated circuit from the first day. In most cases this shortens the life of the new compressor significantly. The cost of replacing both together is higher upfront, but it is the repair that actually solves the problem rather than the one that delays it.
Q: What is an AC vacuum test and why is it done before recharging?
An AC vacuum test involves connecting a vacuum pump to the refrigerant circuit and pulling the pressure down to near-zero before adding refrigerant. It does two things, removes moisture and air from the circuit, both of which damage the AC system over time, and reveals any leaks by showing whether the system can hold vacuum. If the vacuum drops during the test, there is a leak that needs to be found and fixed before refrigerant is added. Skipping the vacuum test and going straight to a recharge risk losing the refrigerant through an undetected leak.
Q: How long does a Mini Cooper AC compressor and condenser replacement take?
A Mini Cooper F56 AC compressor and condenser replacement including the vacuum test and recharge typically takes a full working day. The compressor replacement itself takes a few hours. The condenser requires the front bumper and grille assembly to come off for access, which adds time. The vacuum test requires the system to hold vacuum for a meaningful period before the recharge begins. Doing the job properly cannot be rushed, the vacuum test and pressure check after recharge are not steps that can be skipped to save time.
Q: Does Evolve Automotive handle Mini Cooper AC repairs alongside BMW?
Yes. The Mini Cooper F56 uses BMW Group engines, AC systems, and components. The compressor, condenser, and refrigerant specifications are all within the same BMW Group family that we work on daily. Diagnostic scanning, AC pressure testing, vacuum procedures, and recharging are all carried out with the same equipment and the same approach used on BMW 3 Series, 5 Series and X-range models.
Book Your Mini Cooper AC Service 49 & 51/2, Thiru-Vi-Ka Industrial Estate, Guindy, Chennai, Tamil Nadu 600032 Mon-Sat: 10AM-7PM | WhatsApp: 98849 88632 |
Evolve Automotive — Mini Cooper and BMW Specialist, Guindy, Chennai Multi-brand European car specialist and authorised Mitsubishi dealer serving Chennai since 2017. AC compressor and condenser replacement, vacuum testing and recharge for all Mini Cooper and BMW models. Call / WhatsApp: 98849 88632 | BMW and Mini Cooper Service at Evolve Automotive |