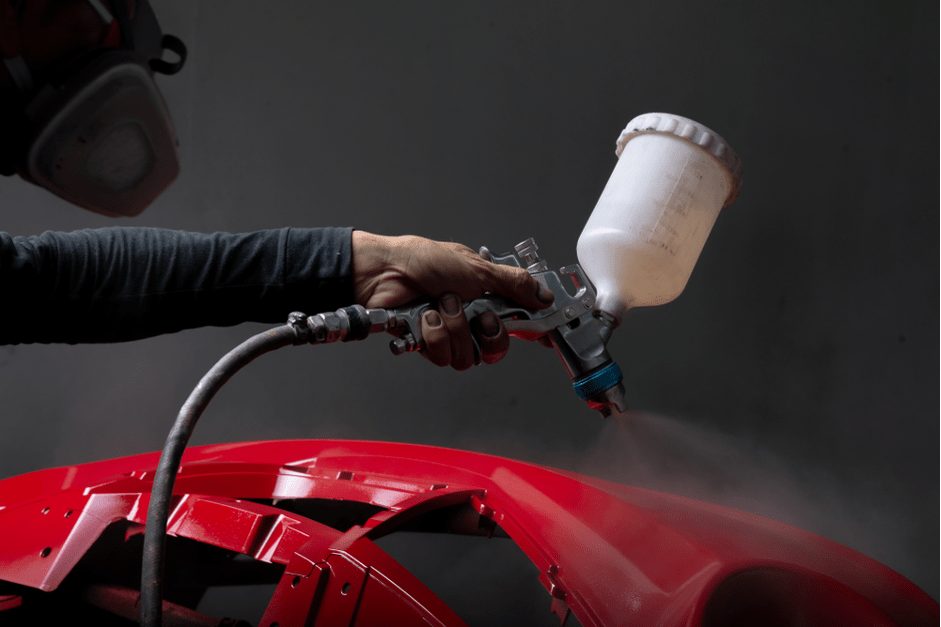
Most car owners understand that repainting involves paint going onto panels. What is less understood is what happens after the paint comes out of the booth, the finishing sequence that takes a cured 2K paint surface from matte to deep gloss. This stage is called paint correction and detailing, and it is a process in its own right, separate from the painting itself.

At Detail Dynamics, every repainted car goes through a finishing sequence before handover. This post explains what that sequence involves, why each stage exists, and what happens when it is skipped or done incorrectly. It also covers headlight polishing, which is a related service that significantly affects how a finished car presents under inspection.

Understanding this process helps owners know what to ask for  and what to check  when a repainted car is handed back to them.


Car repainting, paint correction and detailing at Guindy: Detail Dynamics body shop Chennai

car bmw tinkering

Why a Freshly Painted Panel Is Not Ready to Deliver

When a 2K clear coat comes out of the spray booth after curing, the surface is not the finished product. It has gloss, but it also has texture  dust nibs, minor orange peel (the gentle undulation in the surface that resembles orange skin), and in some areas, very fine surface imperfections from application. These are normal in professional painting and are expected to be corrected in the finishing stage.

The finishing sequence removes this texture through a controlled process of abrasion from coarser to finer, ending with a machine polish that produces a flat, high-gloss surface. On dark colours particularly, this difference between a straight-from-the-booth surface and a fully finished panel is visible and significant.

The Wet Sanding Sequence - Grit by Grit

Wet sanding uses abrasive paper with water as a lubricant to flatten the clear coat surface. The water carries away the abraded material and prevents the paper from clogging. The grit number refers to the coarseness of the abrasive  lower number means coarser, higher number means finer.

1000 Grit – Coarse Correction

1000 grit is used where the surface has visible texture that needs to be levelled, significant orange peel, dust nibs that did not flat out, or panel edges where the clear coat built unevenly. It removes material quickly and leaves visible sanding scratches that will be refined in subsequent stages. Not every panel on every job requires 1000 grit. It is used selectively where the surface needs it.

1500 Grit – Transition Stage

1500 grit follows 1000 grit to refine the scratches left by the coarser paper. The surface at this stage is uniformly matt with finer scratch marks. Orange peel and dust nibs are gone. The remaining task is to remove the 1500 grit scratches through the polishing stages that follow. Some technicians move from 1000 to 1500 to 2000, others from 1500 to 2000 directly depending on the surface condition after each pass.

2000 Grit – Pre-Polish Refinement

2000 grit brings the surface to a state where the scratch pattern is fine enough for cut compound to remove in one or two passes. At this stage, the surface under raking light shows a uniform fine haze. The panel looks flat but not yet glossy. This is the standard pre-polish condition for most repaint finishing work.

3000 Grit – Final Sanding Before Polish

3000 grit is used where the objective is to minimise the cut compound work required, or on softer paint systems that require a finer starting point for polishing. On a 2K clear coat, 3000 grit produces a surface that responds well to a medium polish directly, reducing the number of polishing stages needed. It is also used for finishing edges and areas where the panel geometry makes machine polishing more difficult.

Cut Compound, Machine Polish and Final Polish

After wet sanding, the panel surface is flat but covered in fine sanding scratches. The polishing sequence removes these scratches progressively using machine polishers with diminishing abrasive compounds.

Cut Compound

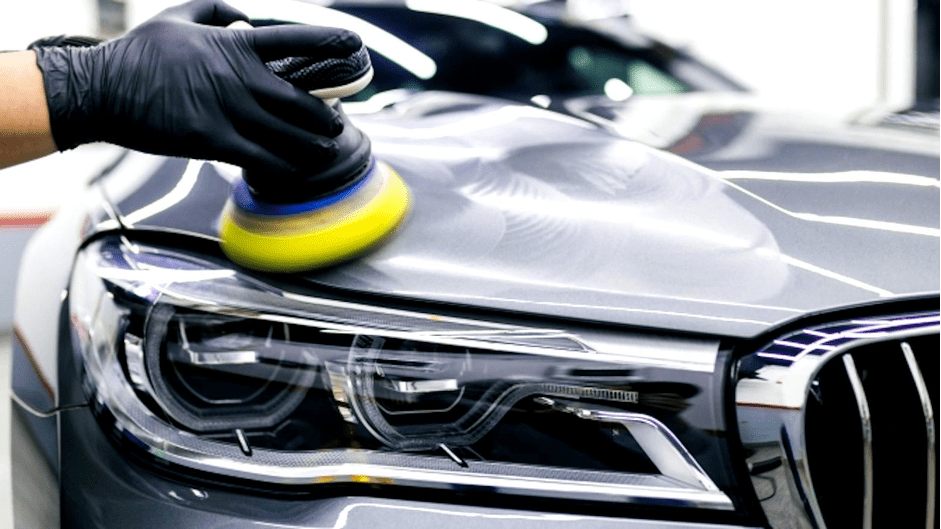
Cut compound is a high-abrasion polish used with a machine polisher on a cutting pad. It removes the sanding scratches left by 2000 or 3000 grit wet sanding and produces a surface that is glossy but still shows faint swirl marks from the compound itself. Cut compound removes the most surface material of any polishing stage and should not be used more times than necessary on any panel; each pass removes a small amount of clear coat thickness.

Medium Polish

Medium polish follows a cut compound using a softer pad. It removes the swirl marks left by the cut compound and refines the surface further. At this stage, the panel begins to show true gloss. Medium polish is sometimes the final stage on panels where the cut compound has already produced a clean surface, or where the paint is softer and the cut compound has done more work than expected.

Final Polish

Final polish uses a finishing compound with a soft finishing pad. It removes any remaining haze, brings the surface to maximum gloss, and prepares it for protection. On a dark-coloured car under direct light, the difference between a surface finished to medium polish and one taken through final polish is visible  the final polish stage is what produces the depth of reflection that distinguishes a properly finished repaint from a basic one.


Each sanding and polishing stage must follow the previous one in sequence. Skipping from 1000 grit directly to cut compound leaves scratch marks the compound cannot fully remove. Skipping from cut compound to final polish leaves swirl marks in the finished surface. The sequence is not optional  it is what produces a consistent result.


Machine polishing, paint correction and detailing services: Detail Dynamics — car detailing and paint correction Chennai


Headlight Polishing - Why It Matters After a Repaint

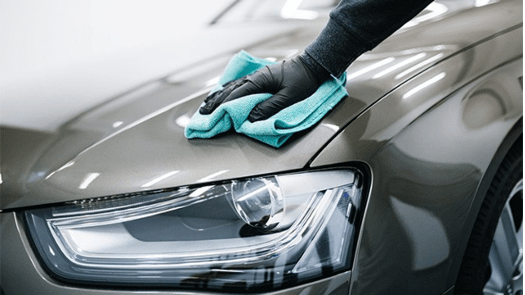
Headlight polishing is a service that is often done alongside a repaint or paint correction job, and for good reason. On a car where the body panels have been brought to a deep gloss through the finishing sequence, yellowed or hazy headlight lenses stand out immediately. The contrast between a freshly finished body and degraded headlights makes the car look unfinished.

Why Headlights Yellow in Chennai

Headlight lenses on most cars made in the last 20 years are polycarbonate plastic with a UV-protective coating applied at the factory. Chennai’s UV intensity and heat degrade this coating over time — typically 3 to 5 years on most cars. Once the protective layer breaks down, the polycarbonate oxidises and turns yellow or hazy. This affects both aesthetics and light output from the headlight.

The Polishing Process for Headlights

Headlight polishing follows the same principle as paint correction. The lens surface is wet-sanded progressively through grit stages to remove the oxidised and degraded coating, then machine-polished to restore clarity. The final step is applying a UV-protective sealant to the lens surface to slow future degradation. Without the sealant, the lens will begin yellowing again within 6 to 12 months in Chennai conditions.

  • Wet sand the lens through 1000, 1500, 2000 grit to remove the oxidised outer layer
  • Machine polish with cut compound to restore initial clarity
  • Final polish to bring the lens to full optical clarity
  • UV sealant applied to protect the restored surface

On a car that has had a full body repaint or paint correction, headlight polishing is the finishing touch that makes the car consistent from front to rear.

FAQ: Car Repainting and Detailing Finishing Stages

Q: Does every repainted car need wet sanding and machine polishing?

Most repainted panels benefit from at least a light finishing stage after the clear coat cures. The extent depends on the surface condition after the booth — how much orange peel is present, whether there are any dust nibs, and how consistent the application was. On a full body repaint, a complete wet sanding and polishing sequence through all stages is standard practice for a properly finished result. On individual panel repairs where the application was very clean, lighter finishing work may be sufficient. At Detail Dynamics, the finishing requirement is assessed panel by panel after the booth stage.

Q: What is orange peel on car paint and why does it happen?

Orange peel is the gentle undulation in a paint surface that resembles the texture of orange skin. It is caused by the paint atomising during spray application and the droplets not fully flowing together before the surface begins to set. It is present to some degree on almost all sprayed paint surfaces, including factory paint on new cars. The wet sanding and polishing sequence flattens this texture and produces the mirror-flat surface that distinguishes a fully finished repaint from a paint job that has come straight from the booth.

Q: How many grit stages are needed for a full finishing sequence?

A typical full finishing sequence on a 2K clear coat surface runs from 1500 or 2000 grit wet sanding through to cut compound, medium polish and final polish. Where the surface has more significant texture or dust nibs, 1000 grit is added at the start. Where the surface is cleaner after the booth, the sequence may start at 2000 or 3000 grit. The number of stages is determined by the surface condition at each step — the technician moves to the next finer stage only when the current stage’s work is complete across the panel.

Q: Can machine polishing remove scratches on a car that has not been repainted?

Machine polishing can remove light surface scratches that are within the clear coat layer. Scratches that have gone through the clear coat into the base coat, or through the base coat to primer, cannot be removed by polishing alone — those require panel repair and repainting. A paint correction service at Detail Dynamics assesses the depth of scratches before advising on the correct approach. For cars with light swirl marks, wash scratches and surface oxidation, machine polishing without repainting can significantly improve the finish.

Q: How long does headlight polishing last in Chennai conditions?

Headlight polishing with a UV sealant applied at the end of the process typically holds well for 12 to 18 months in Chennai conditions. The UV intensity and heat in Chennai degrade exposed polycarbonate faster than in moderate climates. Without the UV sealant, the lens can begin yellowing again within a few months of polishing. The sealant step is not optional if the objective is a lasting result. At Detail Dynamics, UV sealant application is included as part of the headlight polishing process.

Q: Is paint correction the same as detailing?

Paint correction is a specific stage within detailing. Detailing covers the full range of cosmetic care for a car — cleaning, paint protection, interior work and polishing. Paint correction specifically refers to the process of removing surface defects from the paint through machine polishing — swirl marks, light scratches, oxidation and surface haze. A full detail after a repaint includes paint correction as the core stage, followed by protection in the form of a sealant, ceramic coating or wax over the corrected surface.


Paint Correction and Detailing at Detail Dynamics

49 & 51/2, Thiru-Vi-Ka Industrial Estate, Guindy, Chennai, Tamil Nadu 600032

evolveautomotive.in/contact-us/

98849 88632  |  Mon-Sat 10AM-7PM


Paint Correction, Machine Polishing and Detailing at Detail Dynamics

Detail Dynamics handles post-repaint detailing, machine polishing, paint correction and headlight restoration for all car brands at Guindy. Send photos on WhatsApp to get started.

Call / WhatsApp: 98849 88632  |  evolveautomotive.in/denting-painting/